
| 일 | 월 | 화 | 수 | 목 | 금 | 토 |
|---|---|---|---|---|---|---|
| 1 | 2 | 3 | 4 | |||
| 5 | 6 | 7 | 8 | 9 | 10 | 11 |
| 12 | 13 | 14 | 15 | 16 | 17 | 18 |
| 19 | 20 | 21 | 22 | 23 | 24 | 25 |
| 26 | 27 | 28 | 29 | 30 | 31 |
- Spring Mail
- maven
- C++
- pom.xml
- 스프링
- 코딩테스트
- java
- 스프링부트
- GOF
- @Scheduled
- 의존성관리
- list
- springboot
- 프로그래머스
- 스프링 메일
- 스프링 스케줄러
- 스프링 부트
- vuejs #vue #js #프론트엔드 #nodejs #클라이언트사이드 #템플릿엔진
- codility
- Spring
- Dependency
- Spring Boot
- HashMap
- 프로젝트 구조
- Arrays
- thymeleaf
- pair
- spring scheduler
- Collections
- mybatis
- Today
- Total
Rooted In Develop
Vue.js 개발 환경 구축하기 본문
1. Vue.js 란?
간단히 소개하자면, Vue.js는 자바스크립트 프레임워크로 클라이언트 사이드 템플릿 엔진이다.
프론트엔드 프레임워크인 Angular.js / React / Vue.js 중에 검색 빈도가 제일 높다고한다.
2. Vue.js 개발 환경 구축
해당 글은 windows 10에서 진행하며 Linux나 MacOS는 구축 과정이 다를수 있다.
1) Node.js 설치
https://nodejs.org/ko/download/
다운로드 | Node.js
Node.js® is a JavaScript runtime built on Chrome's V8 JavaScript engine.
nodejs.org
각 운영체제에 맞는 LTS 버전으로 설치하면 된다.
2) Git 설치
Git
git-scm.com
각 운영체제에 맞게 설치하면 된다.
3) VS Code 설치
https://code.visualstudio.com/
Visual Studio Code - Code Editing. Redefined
Visual Studio Code is a code editor redefined and optimized for building and debugging modern web and cloud applications. Visual Studio Code is free and available on your favorite platform - Linux, macOS, and Windows.
code.visualstudio.com
각 운영체제에 맞는 Stable 버전으로 설치하면 된다.
4) Vue.js 설치
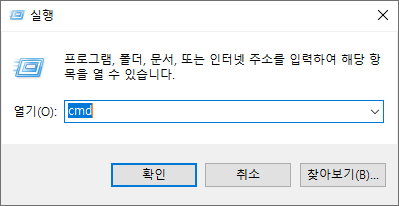
윈도우 키 + R 로 실행창을 열고 cmd을 입력, 실행 시킨다.
1. npm -version
2. npm install vue
3. npm install -g @vue/cli ( 최신버전 설치 )
- stable 버전 설치를 원할경우 ( npm install -g vue-cli )
4. vue --version
5. vue ui
# Starting GUI...
# Ready on http://localhost:{PORT}
6. Chrome으로 http://localhost:{PORT} 접속 ( 혹은 자동으로 창이 띄워집니다 )
3. Vue.js 프로젝트 생성
1. Vue 프로젝트 매니저(http://localhost:{PORT}) - 만들기 클릭
2. 원하는 디렉토리 설정 후 - 새 프로젝트를 만들어보세요 클릭
3. 폴더 이름 입력 / 패키지 매니저 = npm - 다음 클릭
4. 프리셋 - 기본 프리셋 선택 - 프로젝트 만들기
5. cmd에서 해당 디렉토리로 이동후 "npm run serve"
6. http://localhost:8080 으로 접속 후 웹페이지 확인.
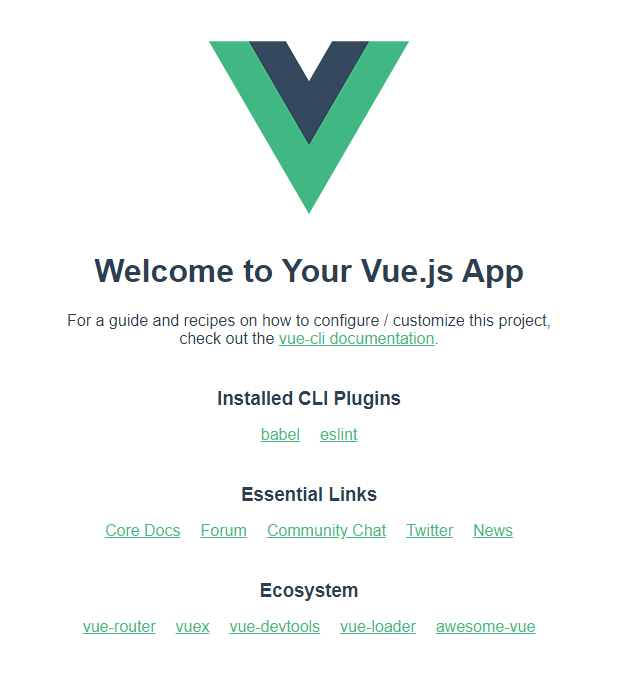
이렇게 Vue.js 개발 환경 구축이 완료되었다.
다음 글부터는 Vue.js 프로젝트를 시작해보자.